
How to Organize Car Accident Photos and Videos for an Insurance Claim
How to Organize Car Accident Photos and Videos So Your Insurance Claim Moves Faster
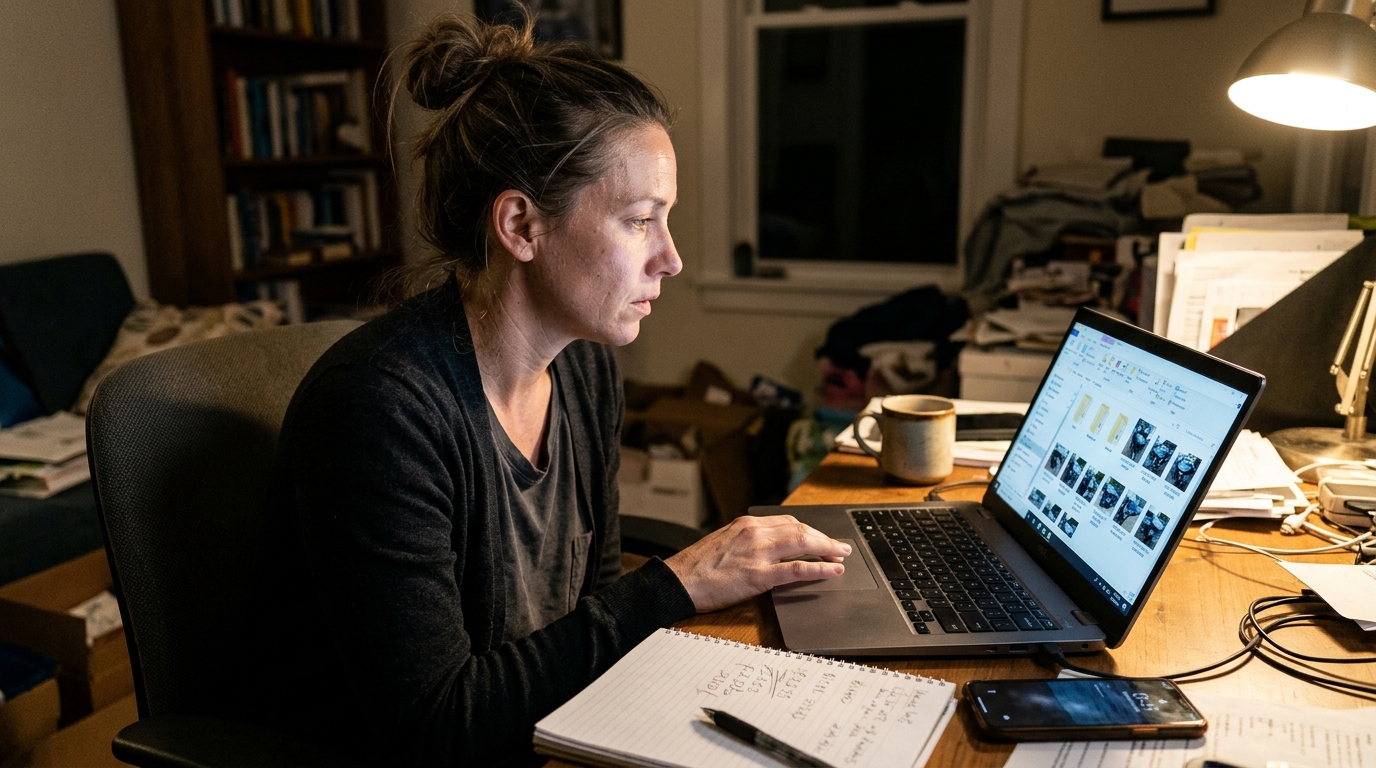
Taking pictures after a crash is only half the job. A week later, your phone holds 140 images, three videos, a blurry screenshot, and your cat's birthday photos, and the adjuster is asking for "everything showing the damage." Sorting that pile while you are sore, stressed, and juggling repair calls is a recipe for missed evidence. This guide focuses on the part most articles skip: how to organize car accident photos for insurance so that every image is easy to find, easy to explain, and easy to send. You will learn how to sort by category, name files, protect originals, and hand over a clean package to your insurer.
Safety First, Organization Second
Before anything else, a quick reminder. Never stand in traffic, lean into a live lane, or walk across a highway shoulder to get a better angle. No photo is worth an injury. If conditions are unsafe, wait for emergency crews or ask a passenger or bystander to help. Insurers also recommend photographing visible injuries soon after the crash, since bruises and marks fade, and asking someone else to take those shots is perfectly fine. Once everyone is safe, the organizing can begin.
Why Messy Files Hurt Your Claim
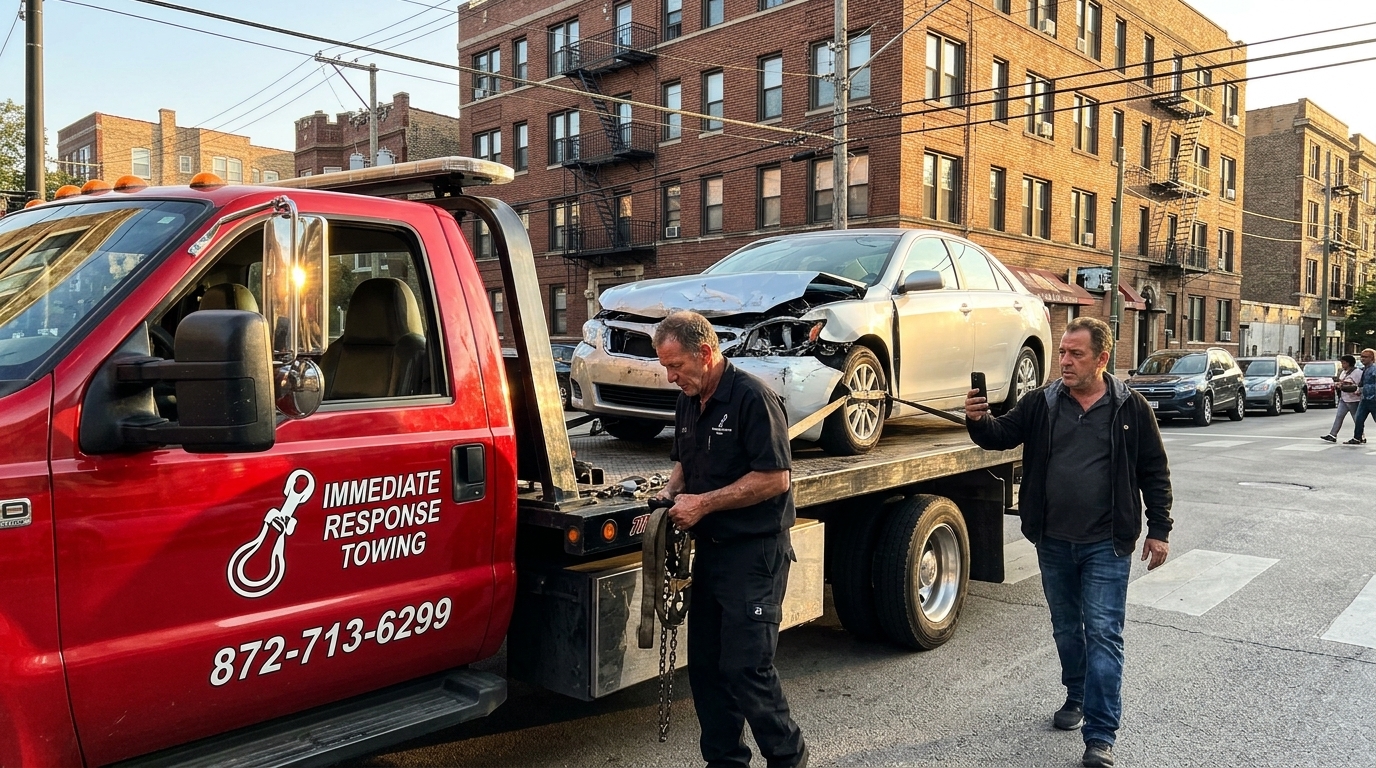
Photos are only useful when someone can understand them quickly. A jumbled camera roll creates three common problems:
Important shots get buried, so you forget to send them.
Adjusters receive duplicates and blurry frames, which slows review.
You cannot explain which damage came from which impact, because nothing is labeled.
A clear system fixes all of this, and it takes about thirty minutes.
Step One: Copy Everything Before You Touch Anything
Your first move should be protection, not editing. Copy every photo and video from the day of the crash into a safe place before you crop, filter, or delete anything. Keep the originals untouched, because original files carry the timestamp and location data that supports your timeline. If you want to mark up an image with arrows or circles, work on a duplicate and label it clearly as an edited copy.
Step Two: Build a Simple Folder Structure
Create one main folder named with your crash date and a short label, such as 2026_11_17_Accident_Claim. Inside it, set up subfolders that mirror how an adjuster thinks:
01_Scene: wide shots of the road, intersection, signs, signals, skid marks, and weather conditions
02_My_Vehicle: all sides of your car, plus the interior, odometer, and any airbags that deployed
03_Other_Vehicle: the other car or cars, including license plates
04_Damage_Closeups: tight shots of each dent, crack, or broken part
05_Injuries_and_Medical: photos of visible injuries, taken over several days as they change
06_Videos: walkaround clips, witness statements, and dash camera footage
07_Documents: photos of insurance cards, the crash report number, and exchange information
Seven folders may sound like a lot, but each one answers a question the insurer will ask. If a category is empty, that is fine. Skip it rather than inventing filler.
Step Three: Name Files So They Explain Themselves
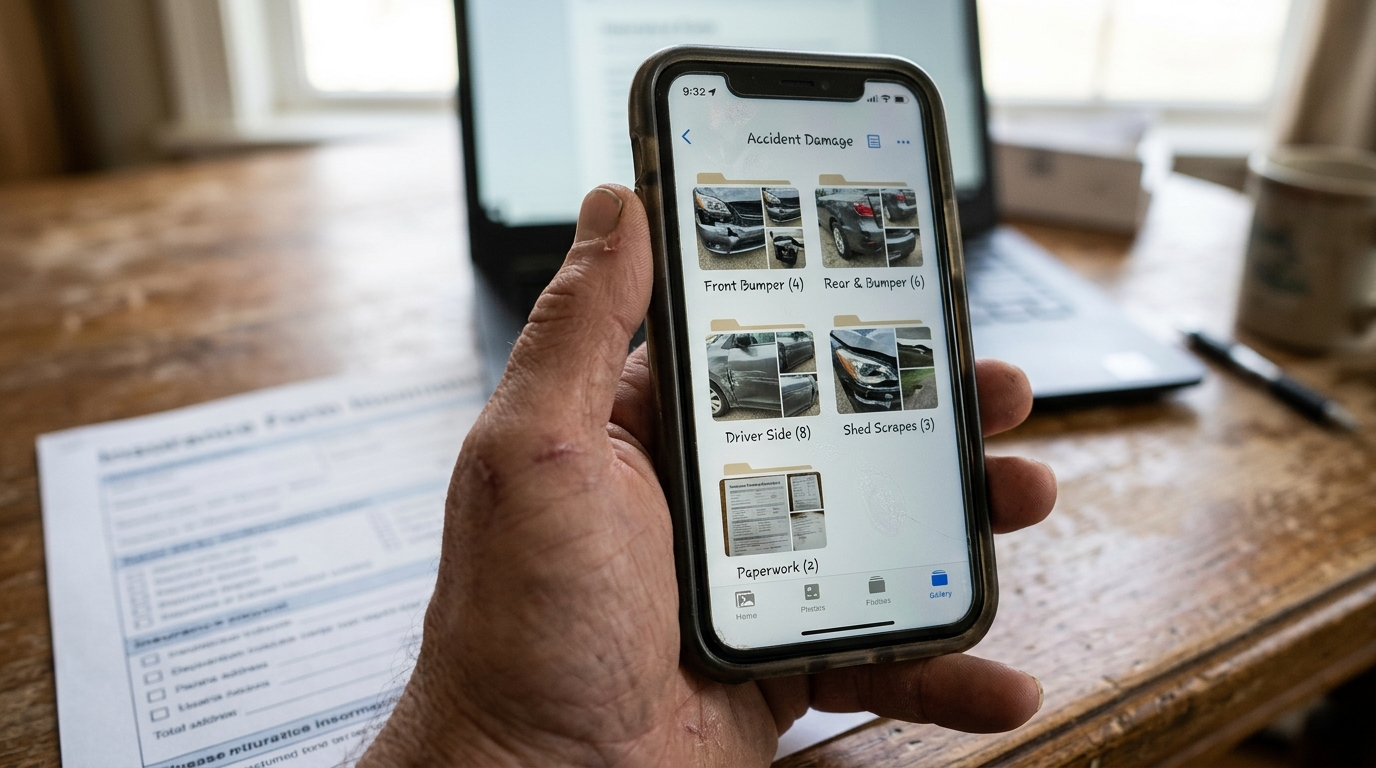
Camera names like IMG_4821 tell nobody anything. A short, consistent naming habit turns each file into its own caption. Try this pattern: date, folder label, and a plain description. For example:
2026_11_17_Scene_Wide_Intersection_Northbound
2026_11_17_MyVehicle_RearBumper_Dent
2026_11_17_OtherVehicle_LicensePlate
Use underscores instead of spaces so files sort neatly on any device. Write the description for a stranger who was not there. If an adjuster can understand the image from the name alone, you have named it well.
Handling Videos Without Losing Your Mind
Videos can be powerful, but long clips are hard to review. Keep your original footage intact, then note timestamps for the moments that matter. A simple text file in the same folder works well, such as "Clip_03 at 0:42, other driver states he did not see the signal." That way you can point your adjuster to the right second instead of asking them to watch ten minutes of footage.
A few practical tips for video:
Keep each walkaround clip short, ideally under two minutes.
Speak the date, location, and what you are filming at the start.
Pan slowly so details are readable.
If you have dash camera footage, save the file immediately, because many devices overwrite older clips automatically.
Step Four: Add a Timeline Note
Photos tell what things looked like, but they do not explain the order of events. Create a one page note in your documents folder listing the time of the crash, when help arrived, when your vehicle was moved, and when you took each batch of pictures. Keep it factual and short. Write what you saw, not what you assume. This note helps you stay consistent when you talk to an adjuster days later.
Step Five: Back Up in Two Places
A phone can be lost, cracked, or reset. Protect your evidence by storing a second copy in cloud storage and a third on a computer or external drive if you can. Check that the backup actually opened and played correctly. Many people assume the upload worked, only to find a corrupted file when they need it most. Share the cloud folder link with a trusted family member as well, in case you are recovering from injuries and cannot access your phone.
Step Six: Select the Best Images for Your Insurer
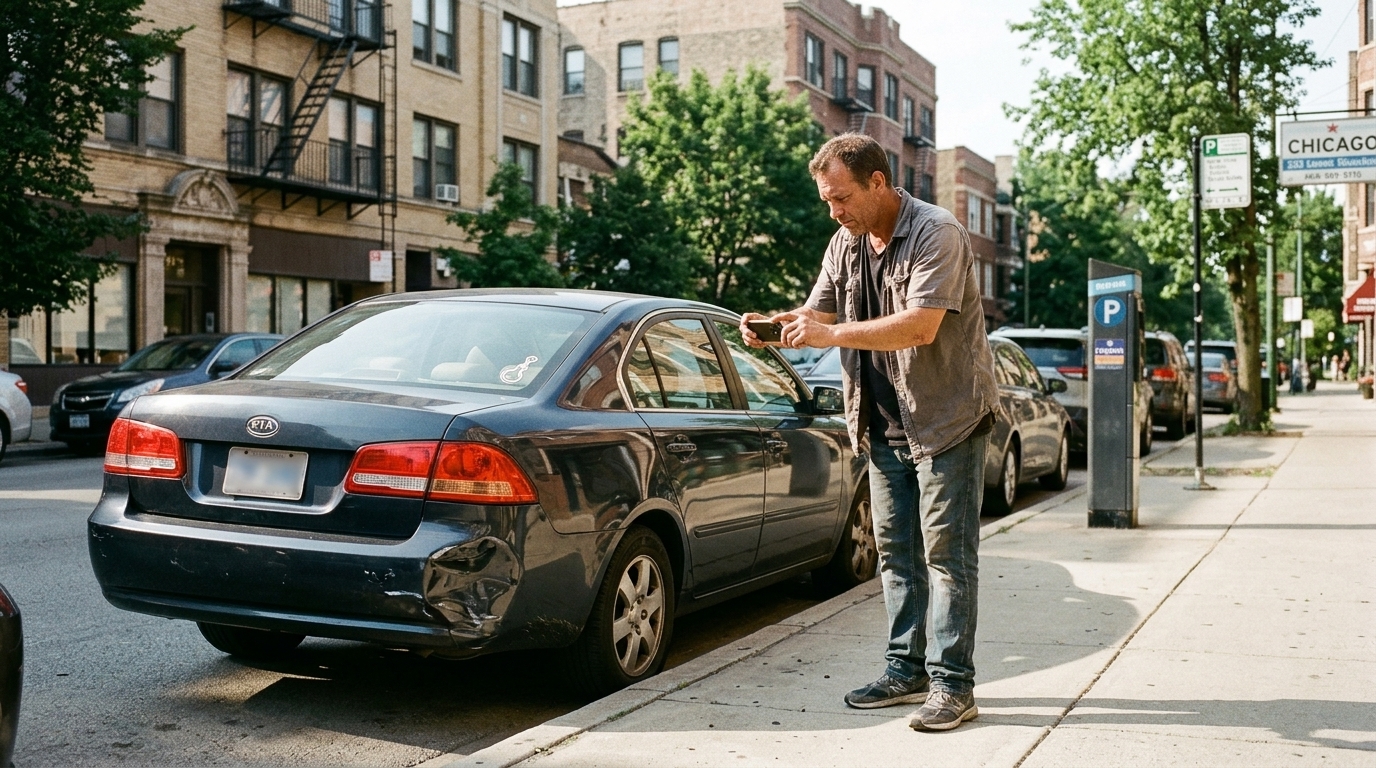
More is not always better when you submit. Most adjusters appreciate a curated set that covers the story without duplicates. Aim to send:
Two or three wide shots of the scene
Photos of every side of each vehicle
Close ups of every area of damage, each with a short caption
Plate numbers and relevant documents
Any injury photos your provider or attorney advises sharing
Keep the full archive in your folders, and send the selected set through your insurer's claim portal or email. Ask which format they prefer, since some portals limit file size or accept only certain types. If something is missing from the request, send it later and note the date you did.
Capture What Happens After the Crash, Too
Evidence does not stop at the scene. Your car may be moved, stored, inspected, and repaired, and each stage changes what can be seen. Photograph it again when it arrives at a lot or shop, before and after teardown if allowed, and when repairs are complete. These follow up images show the progression of damage and help if a hidden problem appears later.
If your vehicle needs to be moved, a professional recovery team can help it travel safely without adding new scratches. Immediate Response Towing serves drivers across Chicago, and the accident recovery towing page explains how recovery works after a collision. A quick walkaround video before the car leaves the scene is a smart habit, and it is easy to drop into your 06_Videos folder.
Common Mistakes to Avoid
Deleting "bad" photos. A blurry shot can still show the timing or location. Keep it in an archive folder.
Posting on social media. Public posts can be misread or used against you.
Mixing personal photos with claim files. Keep your evidence separate.
Waiting too long. Memory fades quickly, and so does the habit of labeling.
The Bottom Line
A well organized evidence folder will not win your claim on its own, but it removes friction, saves time, and makes you look prepared. Copy your originals, build a simple folder structure, name files clearly, note timestamps for videos, back everything up, and send a clean, curated set to your insurer. When your photos are easy to follow, your adjuster can focus on the facts instead of hunting for them. Thirty focused minutes now can spare you weeks of back and forth later.